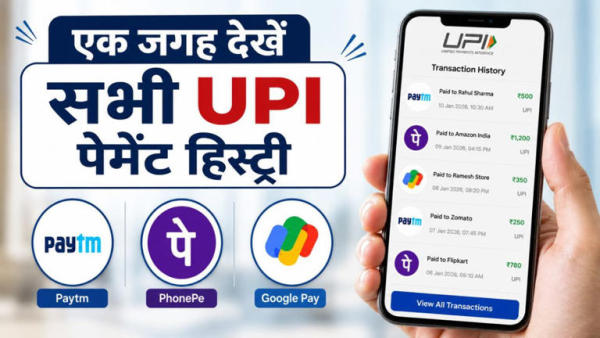
In today’s digital era, almost every smartphone user in India has some application like Google Pay, PhonePe, Paytm or Bhim UPI for online payment. Many people use three-four different UPI apps simultaneously for offers and cashback. As much as digital payment has made our work easier, sometimes it also becomes a big headache. It often happens that we need a receipt or statement of an old transaction, but we forget through which app the payment was made. After this we waste our precious time in checking all the apps one by one. But very few people know that you can easily see the transaction history of all these different apps at one place. This unique feature is no less than a boon for those who use multiple payment apps. NPCI’s masterstroke: All the secrets will be revealed from your single mobile number. The main organization to create the entire UPI ecosystem in India and operate it securely is NPCI i.e. ‘National Payments Corporation of India’. NPCI itself provides this special facility to the users that they can see the complete horoscope of all small and big UPI transactions to their registered mobile number and bank account at one place. Through this government system, you can easily and without any fear find out through which app, when, on which date and how much payment has been transferred from your account. Let us know about this easy and safe process which any common man can use. Step-by-Step Guide: Complete payment history will be revealed in this easy way The process of viewing the combined transaction history of all UPI apps is very safe and for this you just have to follow some easy steps mentioned below. Step 1: First of all, open any active UPI app (like Google Pay or PhonePe) in your mobile phone. Step 2: After opening the app, click on your profile section or settings menu visible in the top corner. Step 3: Within Settings you will see an option of ‘UPI Settings’ or ‘Payment Settings’, select it. Step 4: Now scroll down and tap on the option ‘UPI Help’ or ‘Help & Support’ given there. Step 5: Here you will get a link or option to be redirected directly to the official portal of NPCI. How to login to the portal Step 6: As soon as you reach the official webpage of NPCI, you will have to enter your 10 digit mobile number which is linked to your bank account and UPI ID. Step 7: After entering the mobile number, enter the security captcha code shown on the screen and click on ‘Send OTP’. Step 8: Verify yourself by entering the one-time password (OTP) received on your phone. Step 9: Once the verification is successful, a big tab of ‘Transaction History’ will appear on the main screen, go to it. Step 10: To further strengthen the security, here you will be asked for the last 4 digits of your bank account, enter them and complete the final verification. As soon as this last verification is completed, a complete list will open on the screen of your computer or mobile. In this list, you will have complete date-wise details of transactions done through all the different UPI apps (like Paytm, PhonePe, Amazon Pay etc.) that are active on your bank account and mobile number. With the help of this great trick, you can not only save your time but also keep a close eye on your digital expenses.
-
Are you cheating on your love partner? Punishment is written in Garun Purana

-
Samsung Music Studio Series: Samsung launches two new premium Wi-Fi speakers in India, price starts from ₹ 27,900

-
Tecno Camon 50 Ultra 5G entered India today, powerful features revealed before launch

-
Joe Root stuck on 99! Fellow player’s four deprived him of a century, yet he won hearts

-
‘At Lord’s…’ What did Team India’s coach say amid the news of Rohit’s retirement?